MEXTURES SESSIONS: @ADESANTORA
This morning we have an incredible tutorial piece from Ade Santora (@adesantora)! Ade’s work is brilliant and innovative and most certainly some of the most enthralling double exposure work we’ve come across. Below you’ll find a couple of walkthroughs that Ade put together to share with the Mextures community. Read along, import the formulas, and then watch a few of his video tutorials to see even more behind the scenes action from Ade!
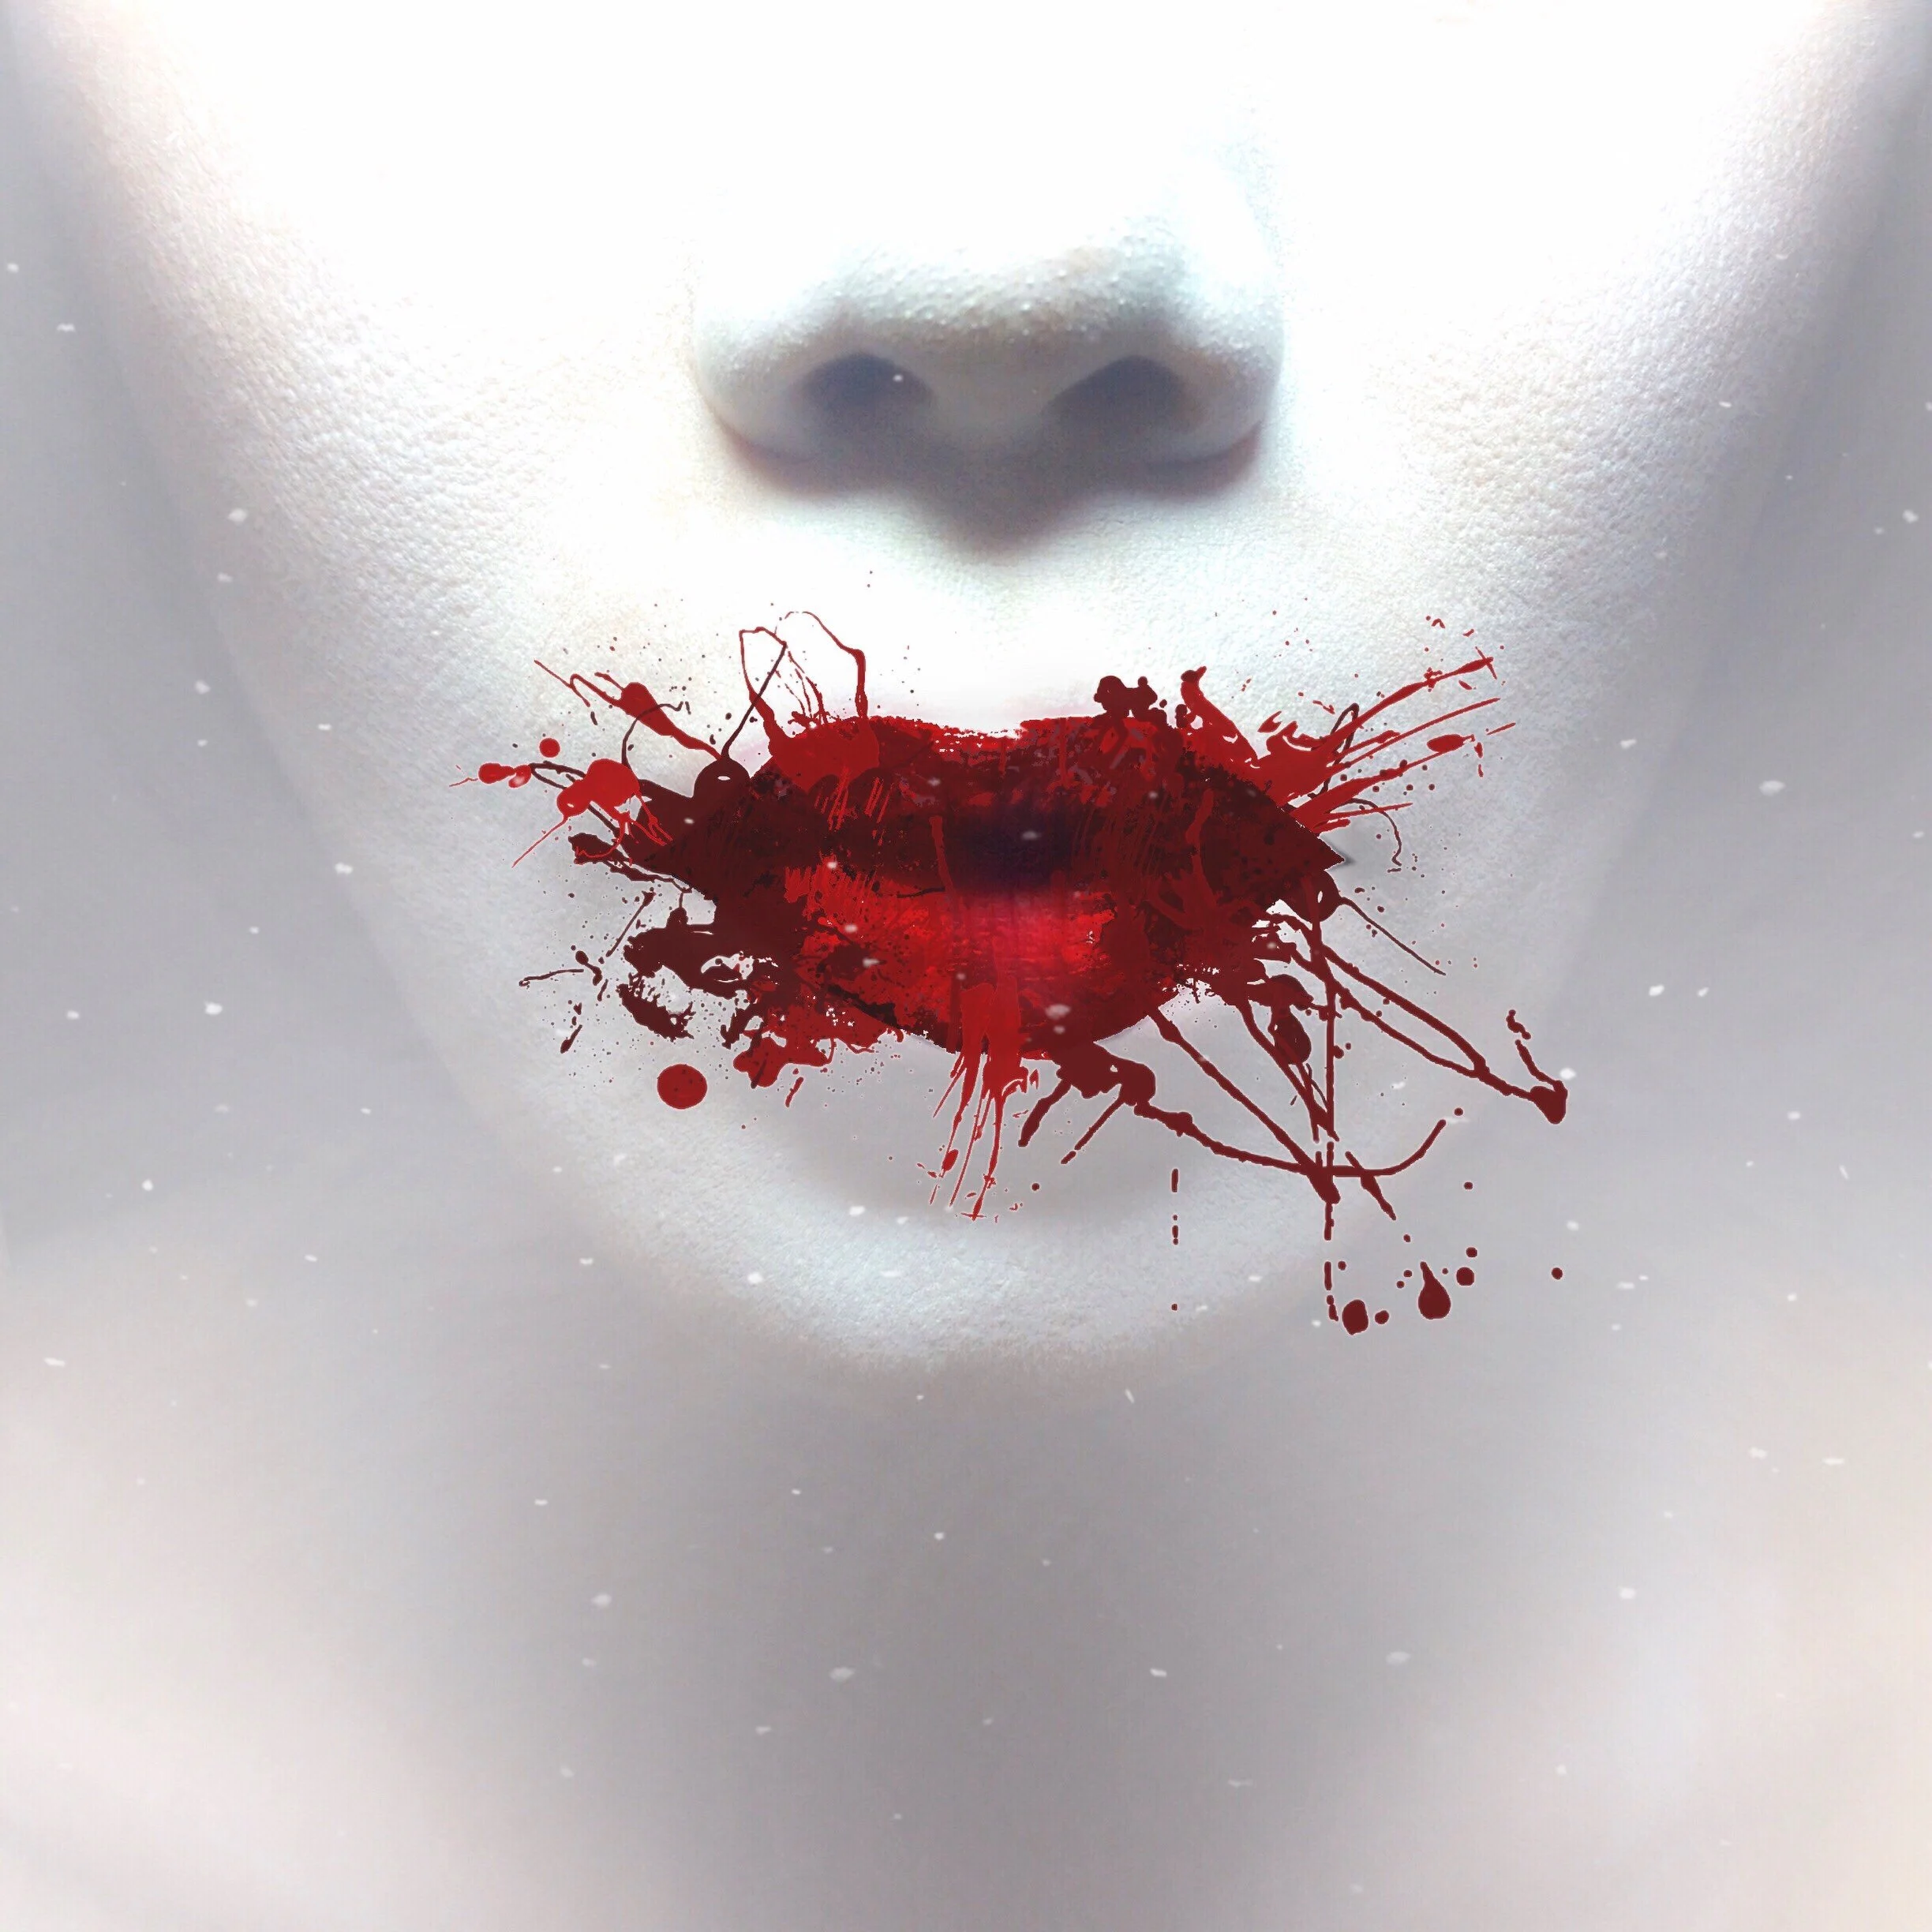
LIPPEN - NPJRBKA
I like to play with lots of layers, blend them together, add texture-like effects using GRIT, GRUNGE or DUST in most of my works and for my final edits, I really like to use the ADJUSTMENTS TOOLS to create tones that I think are suitable and perfect for each mood in each work which I have created so far. With Mextures, I can explore all of that very easily.
For this image, I made 3 layers above it. First I chose EMULSION - EDISON with the SCREEN blending layer, opacity 50-60% to get the texture effect that I needed: an iceberg-like effect in the background. For the second layer I used GRUNGE - FROZEN to add the previous ice effect to add more blue, blending this layer with OVERLAY, opacity 20-25%. And the third layer is GRIT - NOISE COMPLAINT with LIGHTEN blending, opacity 80-90% to create the foreground ice dots I needed.
Final touch with TOOLS ADJUSTMENTS. This time, I ignore FILM and the BLACK/WHITE tools, because I don't need that now, so I move straight to exposure, contrast, temperature, tint and saturation. Here I only do a little tweaking. Next, to get more depth, increase FADE to 20-30, and increase SHADOWS 10-20. And the final touch is SHARPEN (I love this tool so much!) increased to 40-50. That's it. Save!
SWOOSH - FJVNQLS
Usually after I find the FORMULA that I think is suitable, I will always save the formula into my presets. Why? When we edit the new artwork, it will be very useful to maintain the consistency of the style of my work by using the formula that I have used before, I just need to tweak the formula to adjust the needs and desires and what results will be achieved.
For this image more needs to be tweaked to achieve the tone I want according to the style I have. This is a formula I use quite a lot using the texture layer with blending OVERLAY which has many color versions like LIGHT LEAKS, LANDSCAPE ENHANCE, VINTAGE GRADIENTS or X-FILM . Next the GRUNGE-ANDROMEDA layer with opacity of 70-80% blended in SOFT LIGHT. To create a more textured and low contrast effect, I add an EMULSION-TESLA texture, 50-55% opacity with EXCLUSION blending. The last layer GRIT AND GRAIN-BLIZZARD, opacity 40-50% SCREEN, to add the effect of dust to the foreground so that the mood of this photo looks more real.
Next step, ADJUSTMENTS TOOLS. I pick CROSS PROCESS for FILM tools to create depth in my colors and it also makes all of my colors blend more smoothly. Decrease TEMPERATURE to minus 10-20 to give it a slight bluish tint and then increase the actual TINT to 20-30 to get more warmth in my edit. Next, more FADE to 50-60. This creates a low contrast feel and I love it much. HIGHLIGHT, SHADOWS just a little tweak, and finally... SHARPEN increased to 75-80. It's a wrap! Save!
See more of Ade’s art here and check out his YouTube tutorials here!


