MEXTURES SESSIONS: KEVYN KURPIERS
Kevyn Kurpiers (@kevynkurpiers) is one of the kindest people on Instagram and a Mextures user who is always more than willing to lend a helping hand. He also creates also takes and creates (@iamkevynkurpiers) mesmerizing imagery. Because we’re always trying to learn and share how different people use Mextures to enhance their photos, we caught up with Kevyn for our freshest edition of Mextures Sessions. Read along!
Hello everyone! This is Kevyn Kurpiers ( @kevynkurpiers).
I understand that sometimes when people first open Mextures and see all of the different options that it might feel overwhelming trying to determine where to start. I’ll try to explain my personal workflow to all of you and why I use the different Overlays in my editing process.
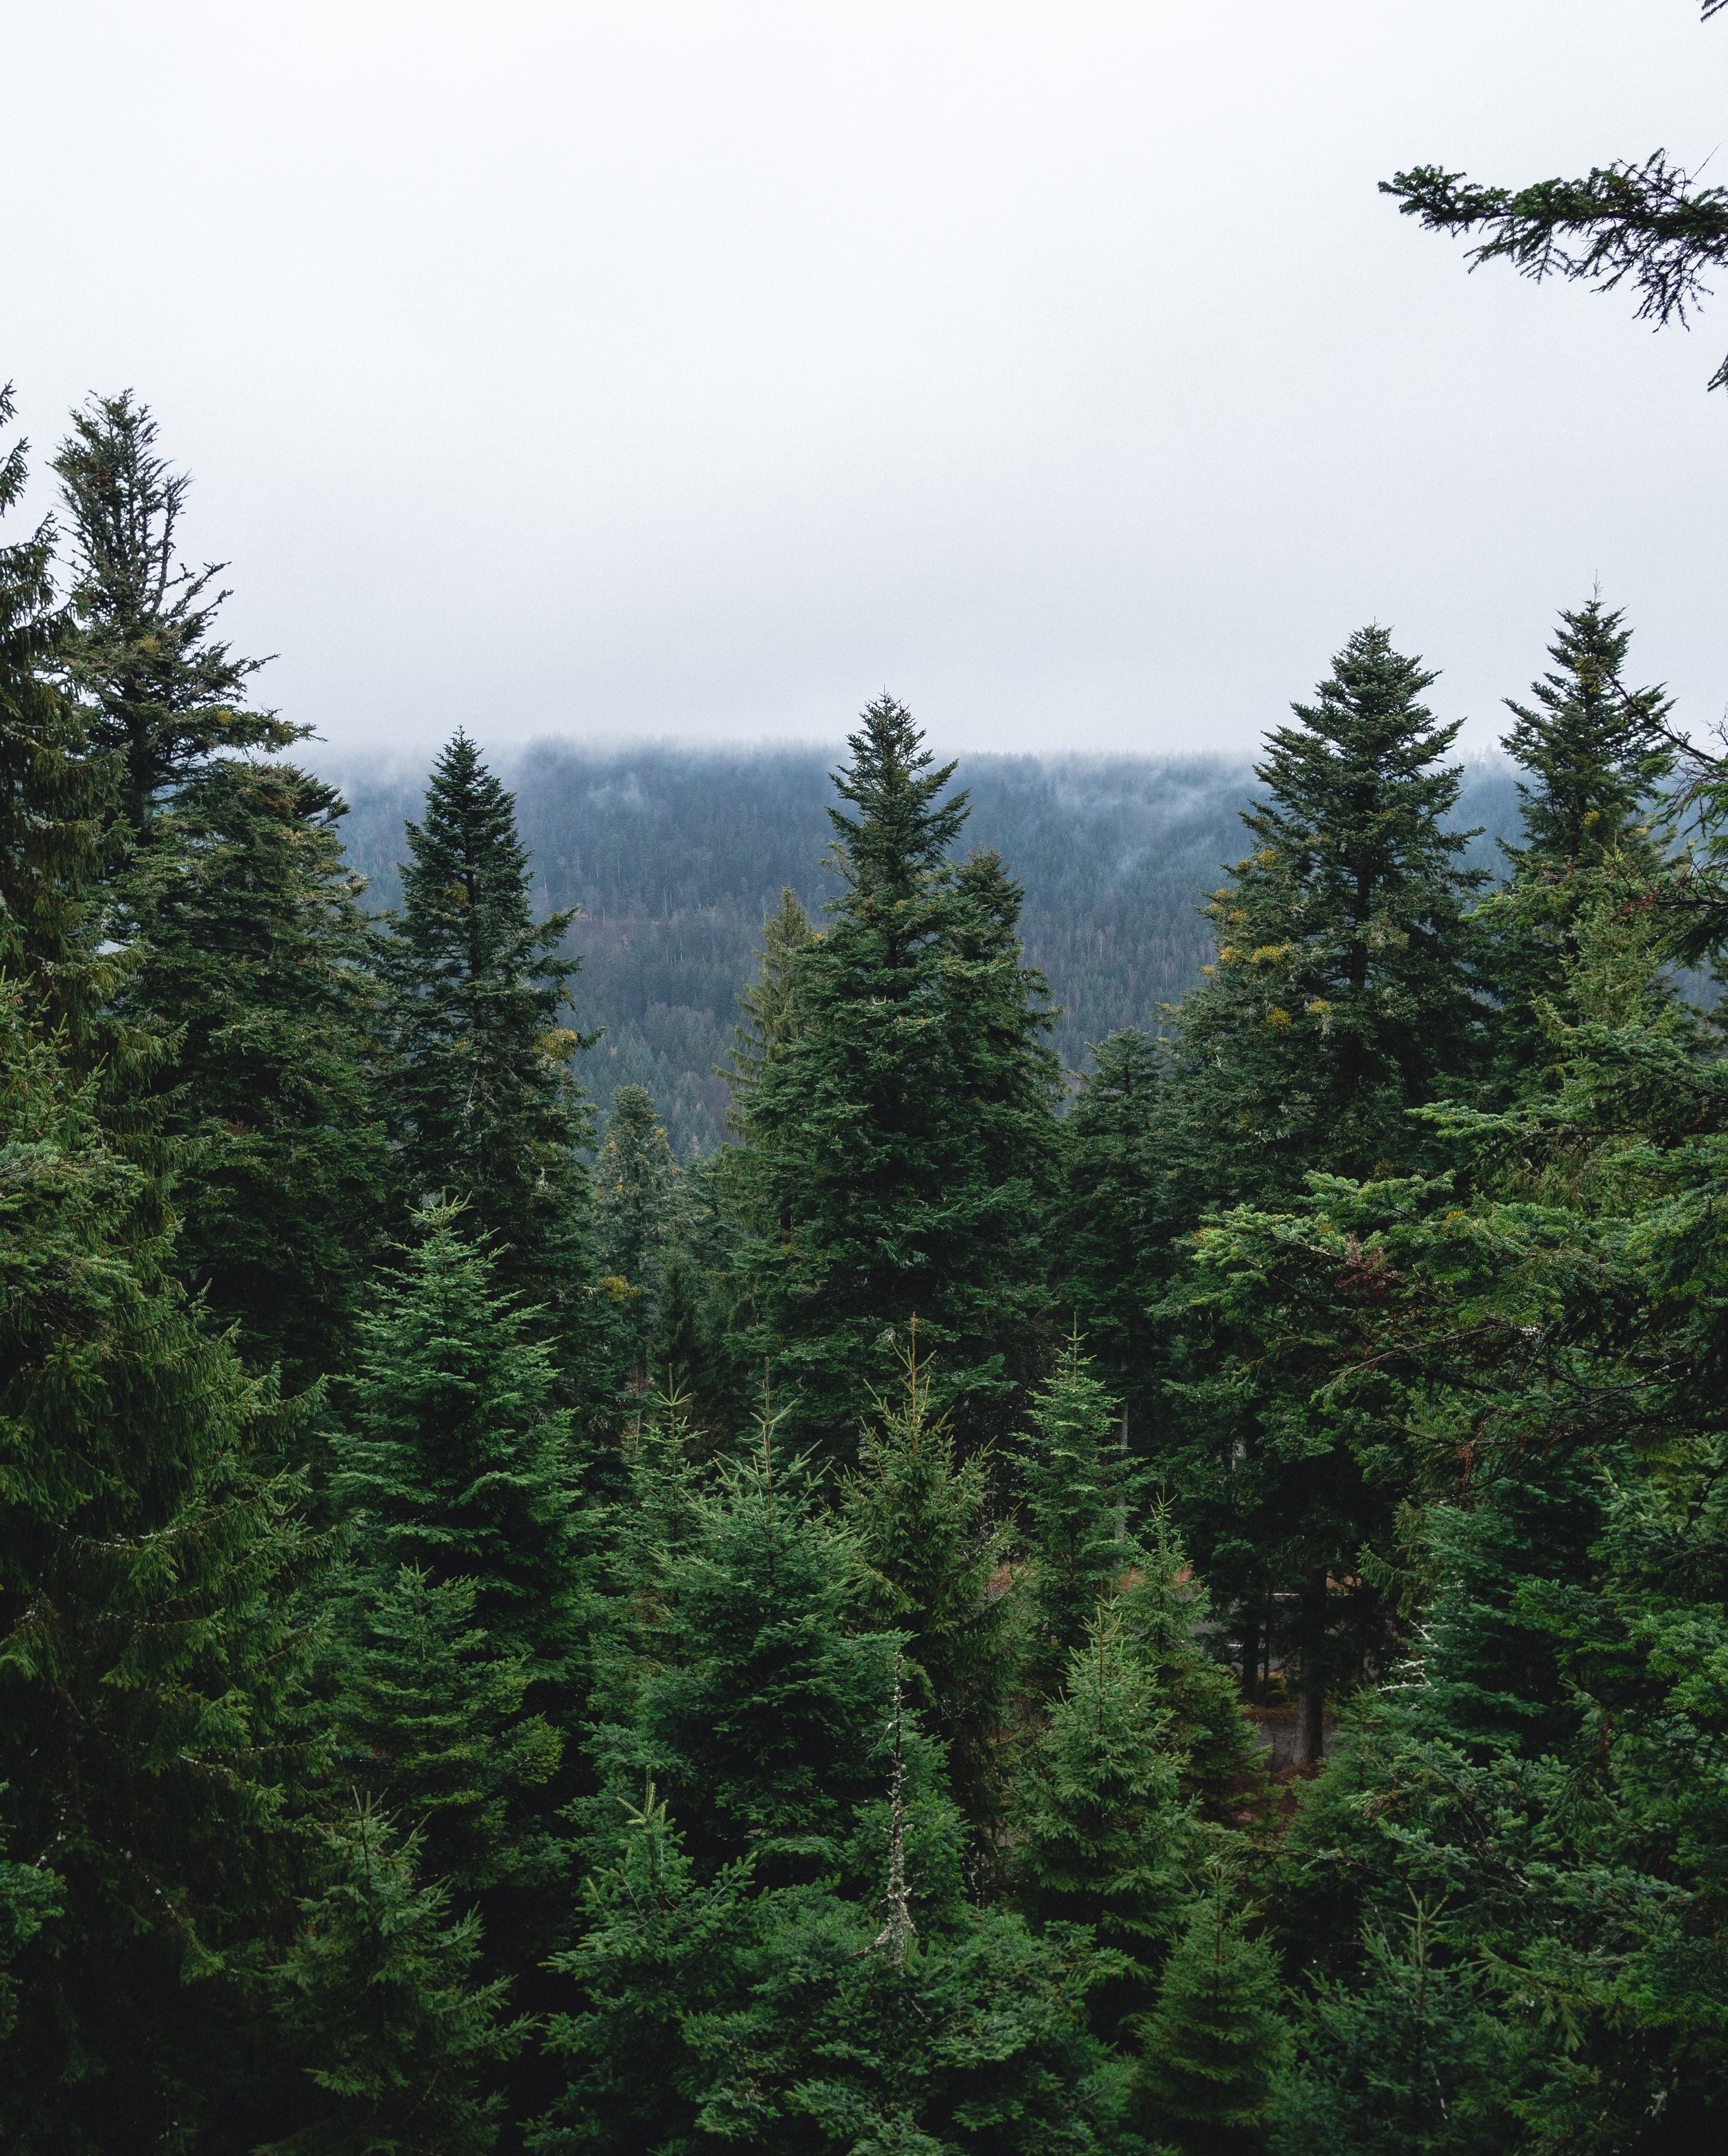
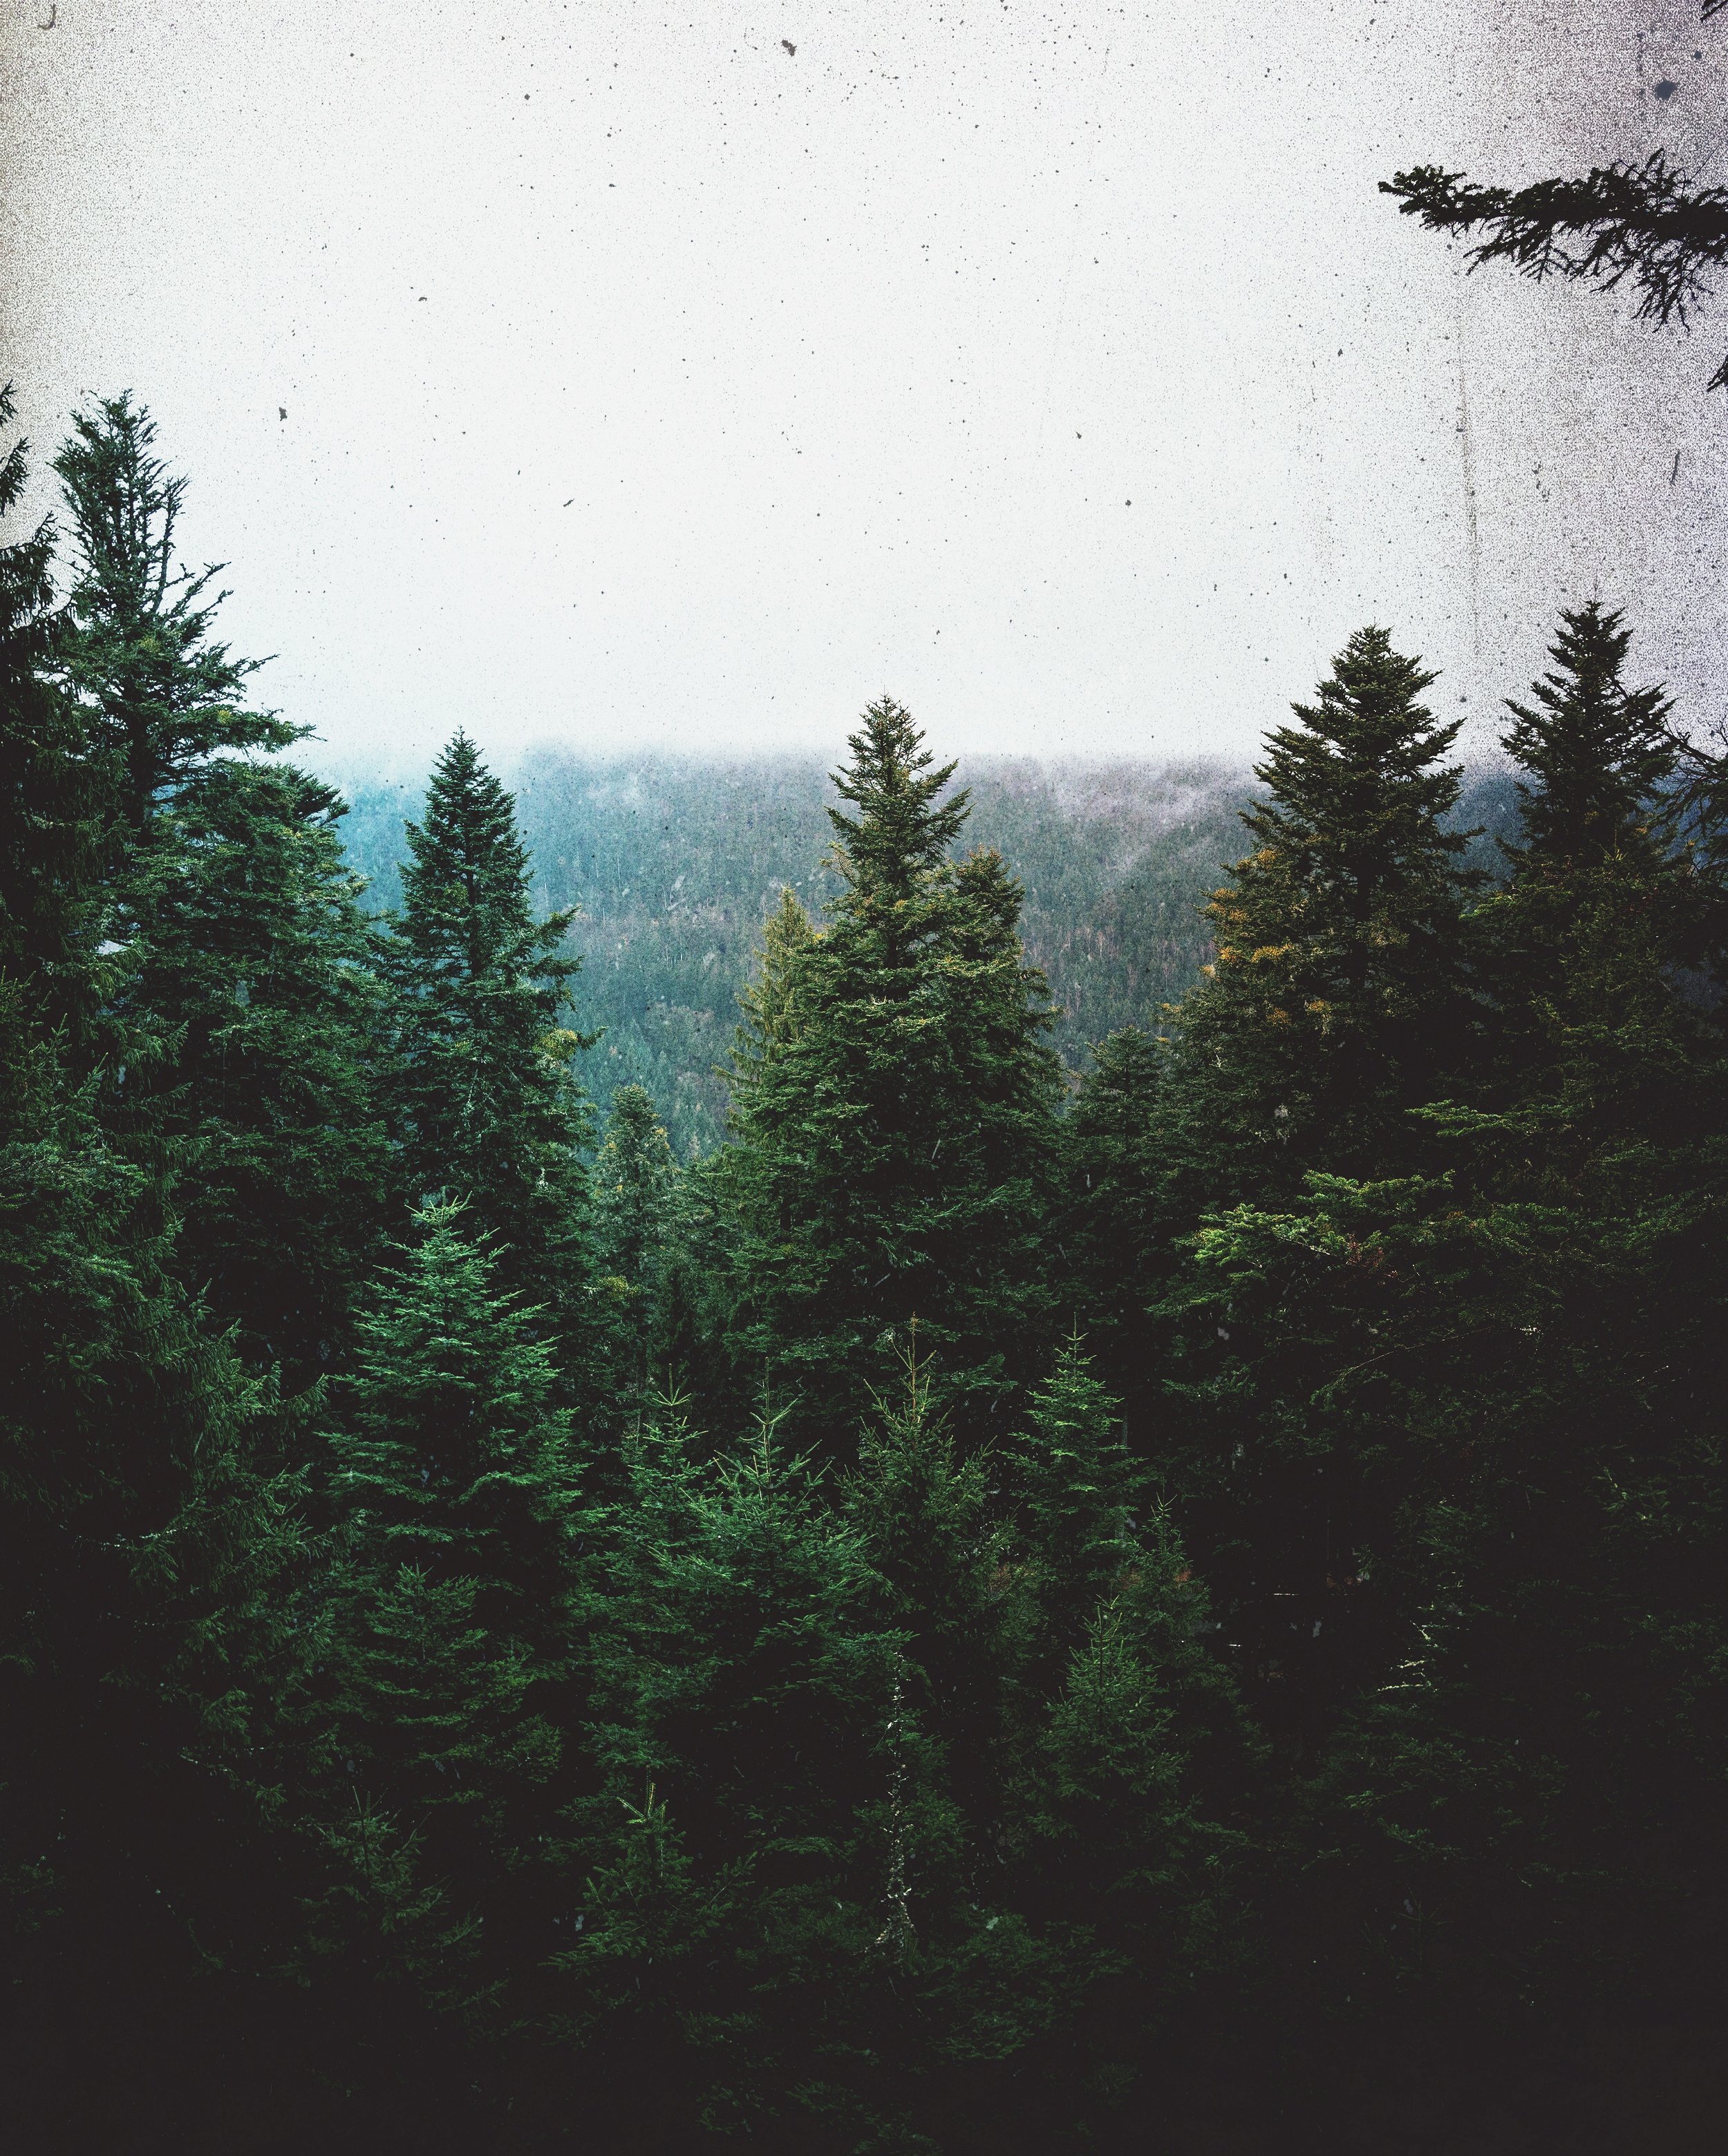
Formula: PTFALXL
Everytime I use Mextures I start with the basic adjustments. There, I try to apply a film preset first. On this edit I used the P-690 COLD preset because it adds more Contrast, a cooler temperature and a moody fade to the image. I also like to increase the sharpness to around 30-50; it depends on the image quality.
After setting the basic adjustments I move to the best part of Mextures: the overlays. This is where the app really stands out.
For 90% of my edits I start right at the top and move my way down through all of the overlay packs.
Layer 1: The first I used was the FORTE Layer from the Radiance pack. I also changed the blend mode to “Soft Light“ because it does just that - makes the layer a little bit softer.
Layers 2,3 and 4 were from Grit and Grain. The 120MM is one of my favorites together with BLIZZARD and SLIDESHOW. I added all 3 of them and set the opacity at around 50%.
Layer 5: Grunge - ANDROMEDA: What it does here is changes the light in the image depending on how you rotate the overlay. Orientation 1 worked the best and I kept it at around 30% for a more subtle look.
Layer 6: Landscape Enhance: I added a small amount of VIGNETTE here.
Layer 7: Dust & Dirt - GRANULE: These layers are some of my favorites. They create an old, dirty feeling on an image.
Layer 8: Intensity - GAINSBORO: Similar to the Grunge layers, the Intensity layers create a special light in the image. I always play around with the different orientations to see how the layer effects the light.
After adding all of the layers I go back to the adjustment section for some final touch up.
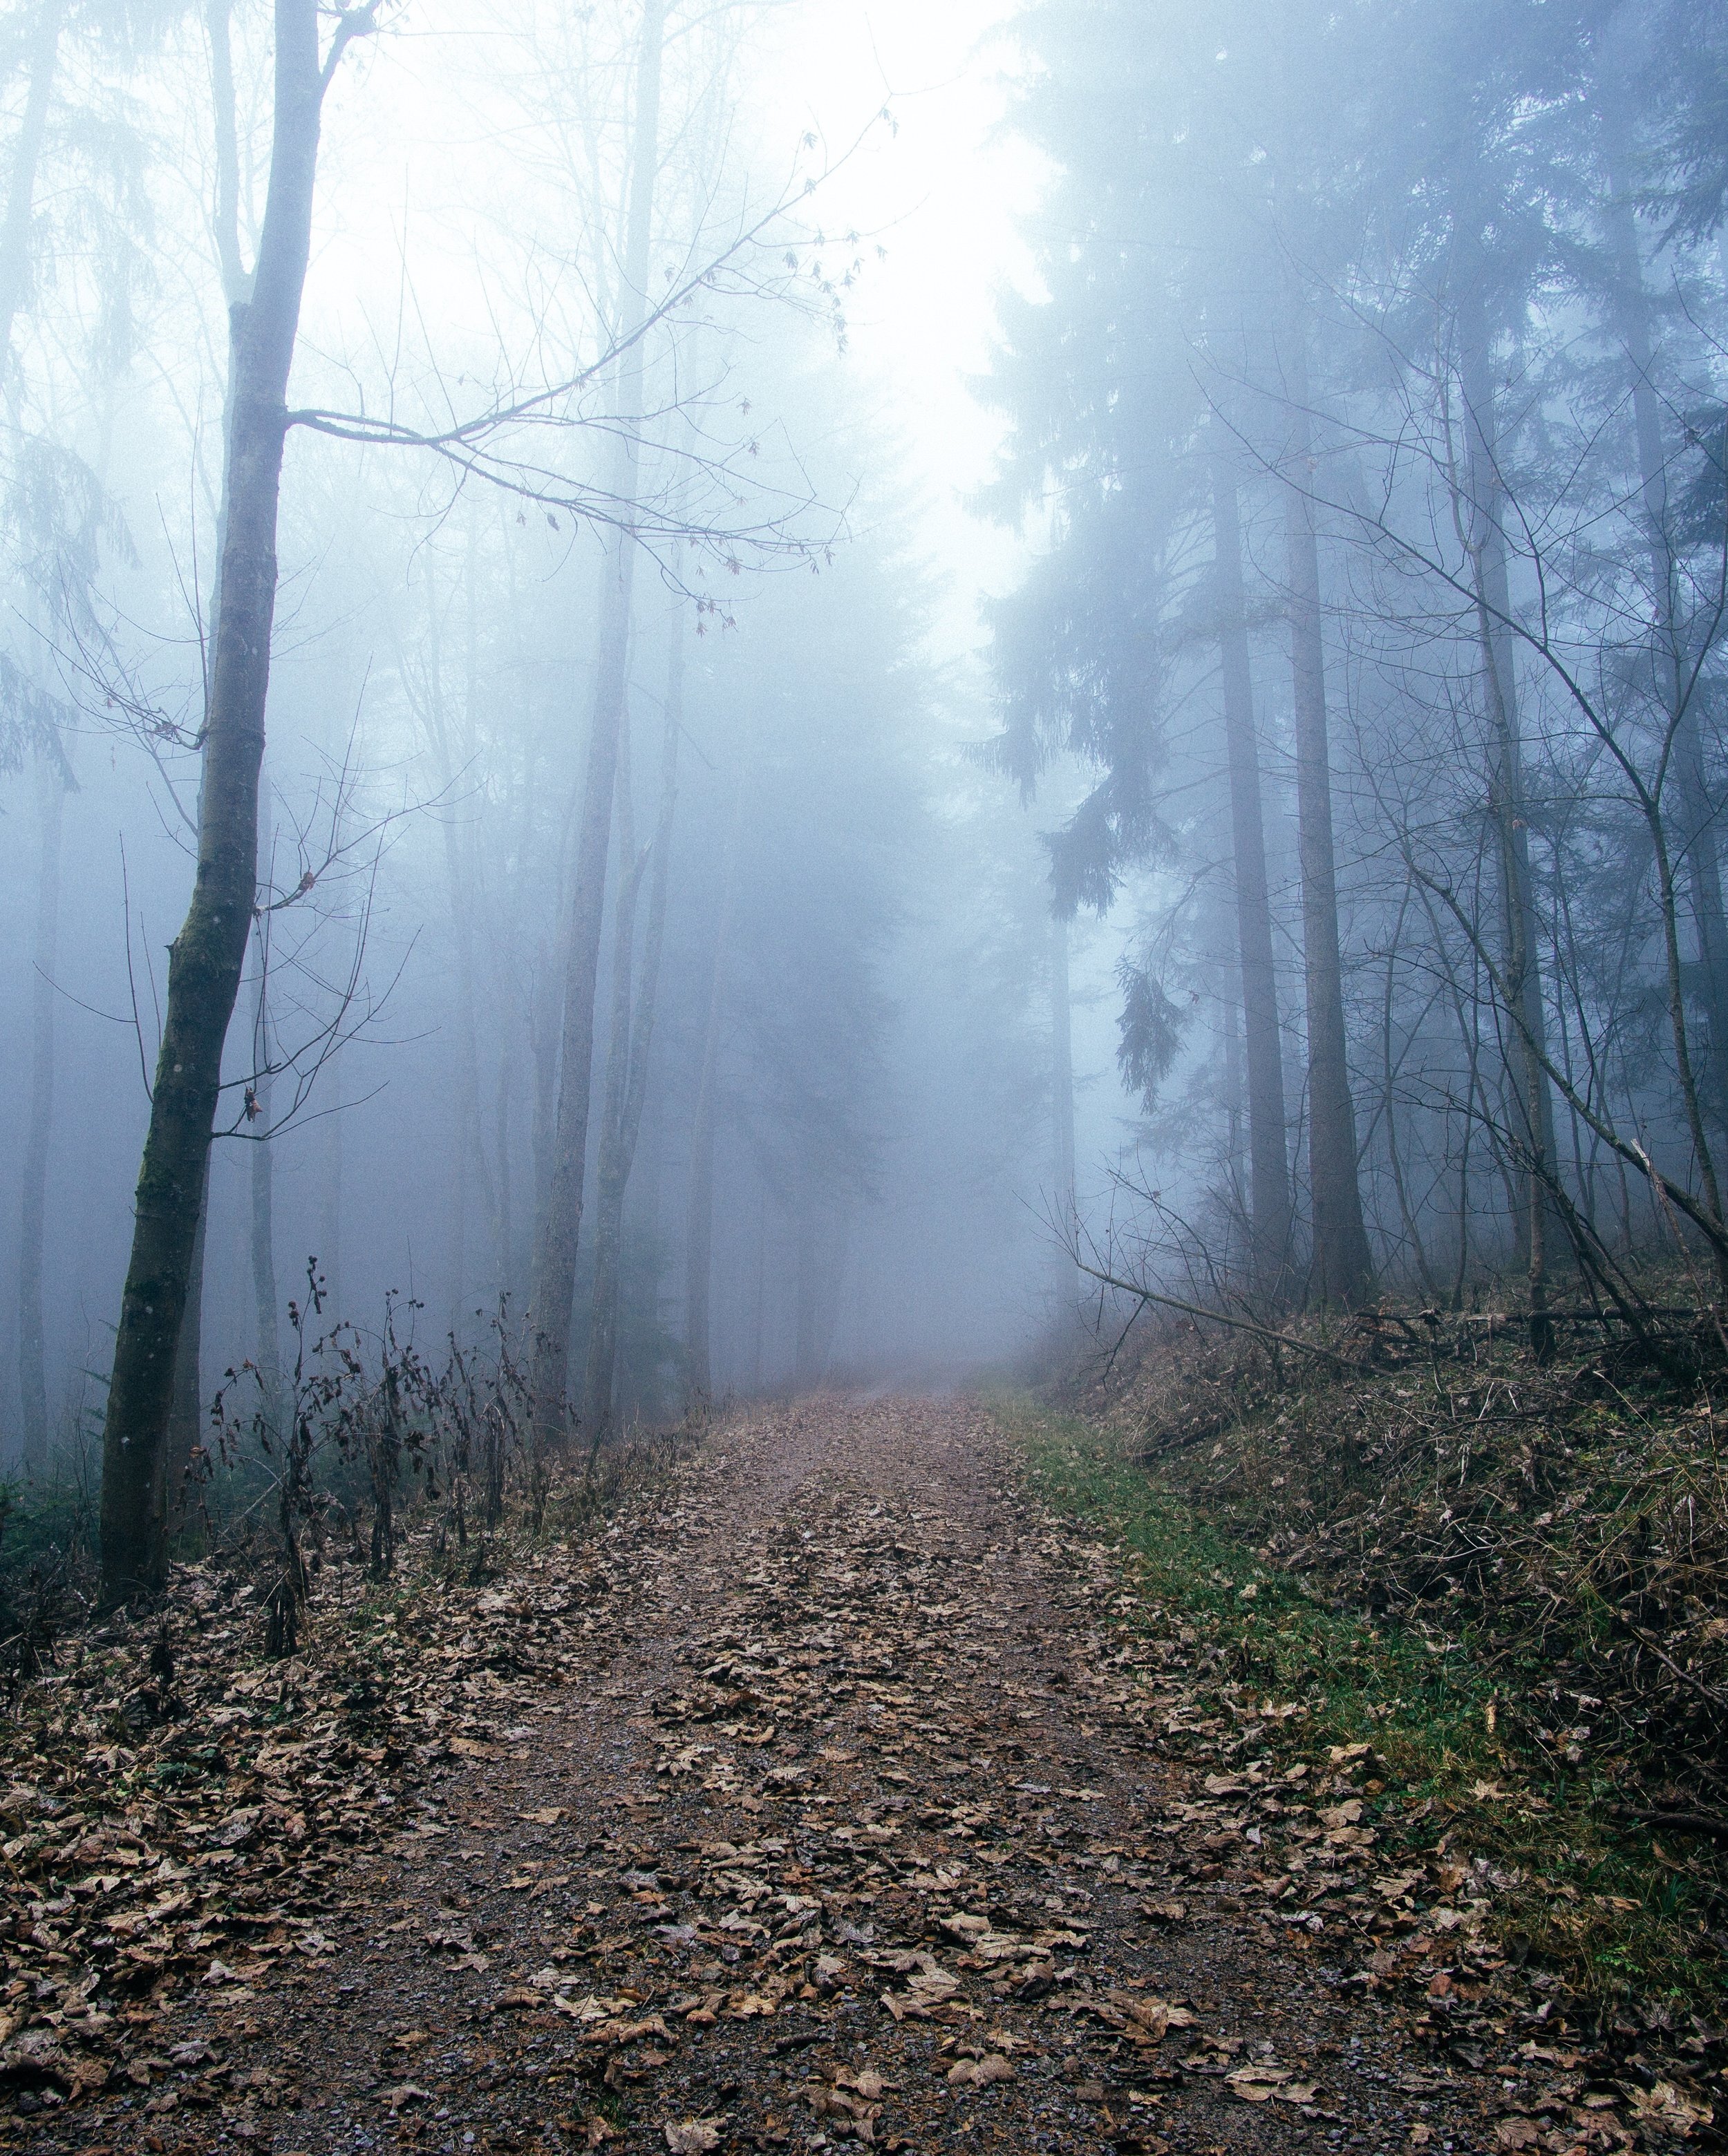
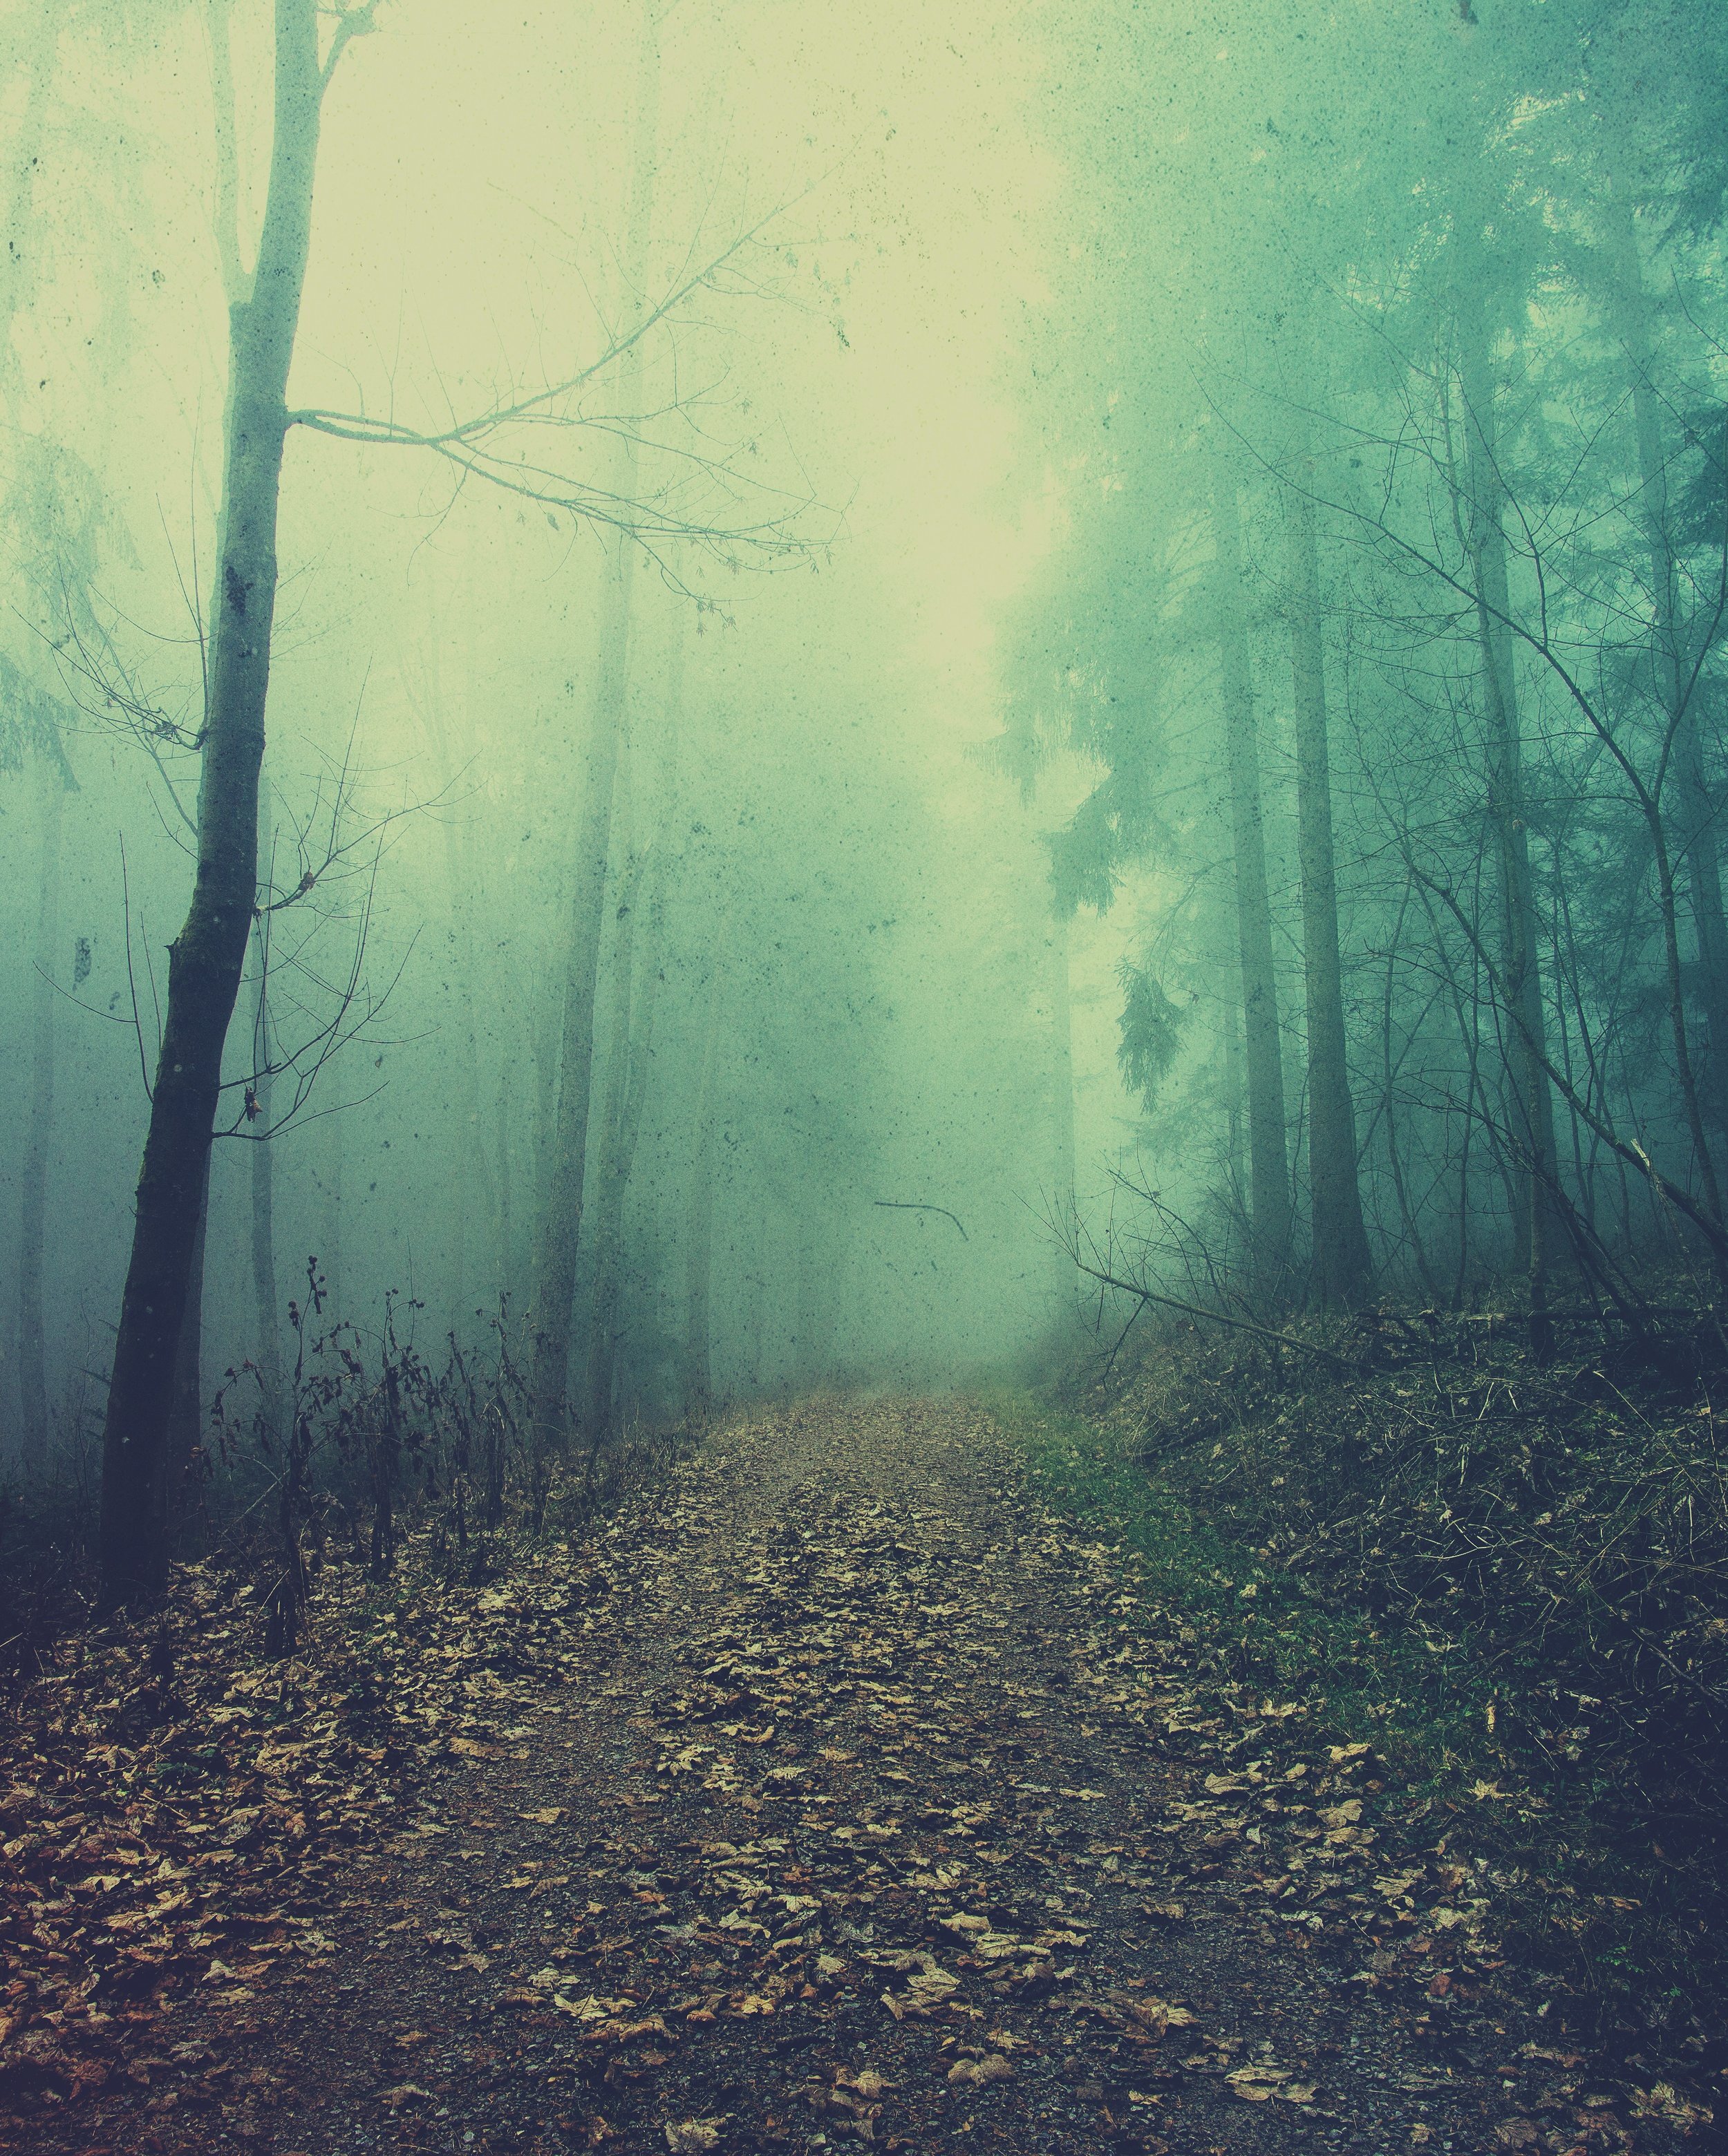
Formula: XGBXGMX
On this image I started (as always) with the adjustment tools and also added the PX-70 film preset and decreased the temperature after increasing the contrast.
Layer 1: Grit and Grain: I added the POPULAR layer and changed the blending mode to “difference”. When you do this the grain gets darker and adds a very moody grain to it which worked perfectly for this foggy forest.
Layer 2: Light Leaks 2 - TOXIC: This layer worked great on this photo because it made the fog more intense.
Layer 3: Vintage Gradients: The TWILIGHT layer in the “Soft Light” blend mode adds kind of a glow to the middle of the photo.
Layer 4: X-film: A small amount of the NAVY overlay gives a minimal blue tone and a dose of fade.
See more of Kevyn’s work here!
