MEXTURES SESSIONS: BARBARA ZORN
Several months ago we shared a Mextures Short that we did with Barbara Zorn (@bea01). In her Mextures Short we talked about her ability to capture and create with the smallest of subjects - stringing together miniature details and then using Mextures to fill her images with color, light and sharpness. We were so interested in her process and the stunning images she takes that we just had to find out more! In this week’s tutorial Barbara walks us through her Mextures process for two separate images and gives us a behind the scenes perspective of her work. Let us and Barbara know what you think!
Formula Code: AJPDAIW
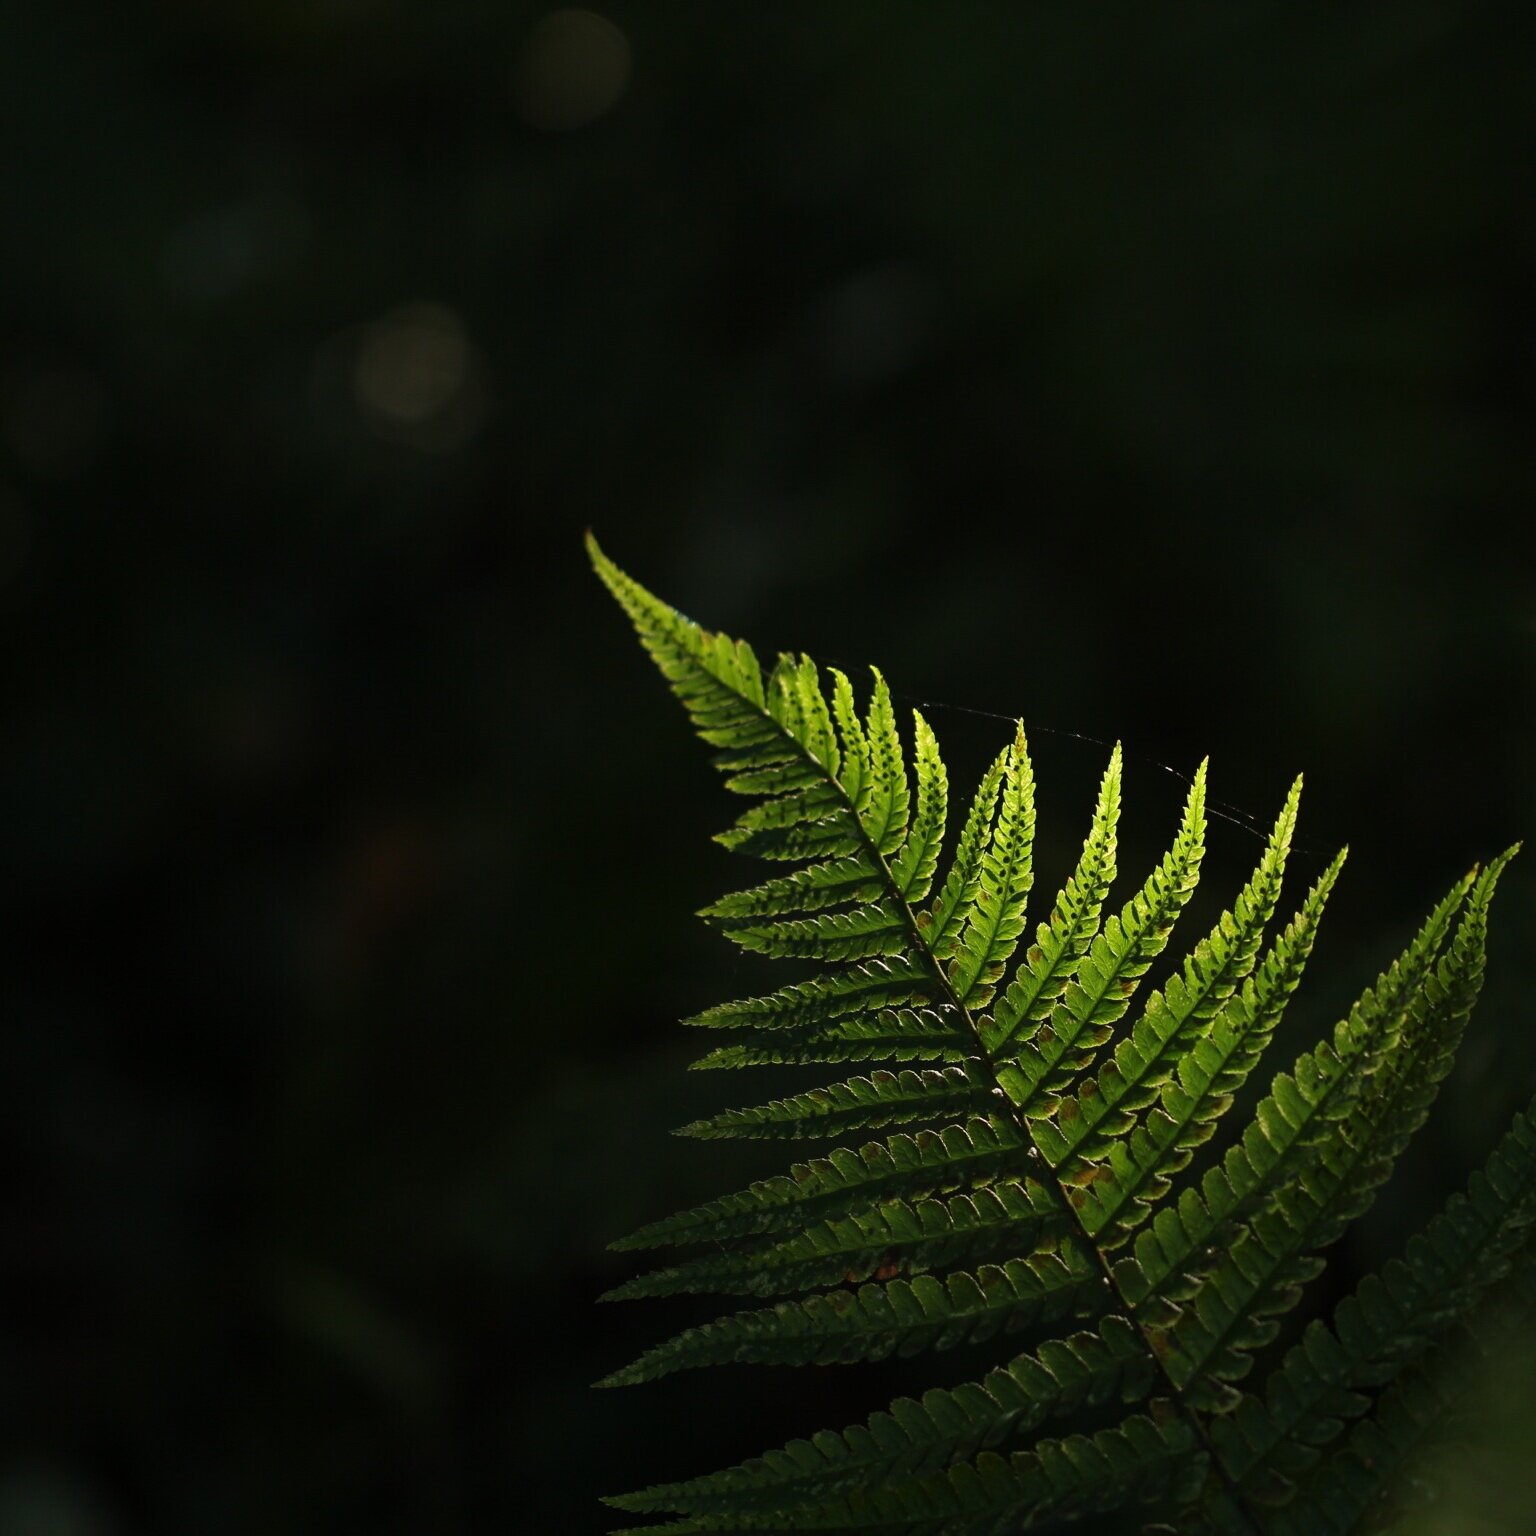
I really like this picture because it is minimal and clean. With the sun enhancing just one side of the fern it looks special to me.
I wanted to increase that “spotlight” look and I wanted it to look a bit more mysterious. I started with Mextures Grunge layers just to give the picture a little more depth. After that I enhanced the picture on one side with overlays from the Landscape Enhance pack. Finally, to increase the sunray at the top right, I added a little Anomaly.
But I still wasn’t happy with the result. Luckily, Mextures doesn’t just provide overlays and formulas but also includes a large range of adjustment tools. So, I reduced the saturation and exposure before adjusting the temperature a little bit.
That’s all! Only three layers and a little adjustment needed for what I wanted to create with this image!
Formula: VZHZACW
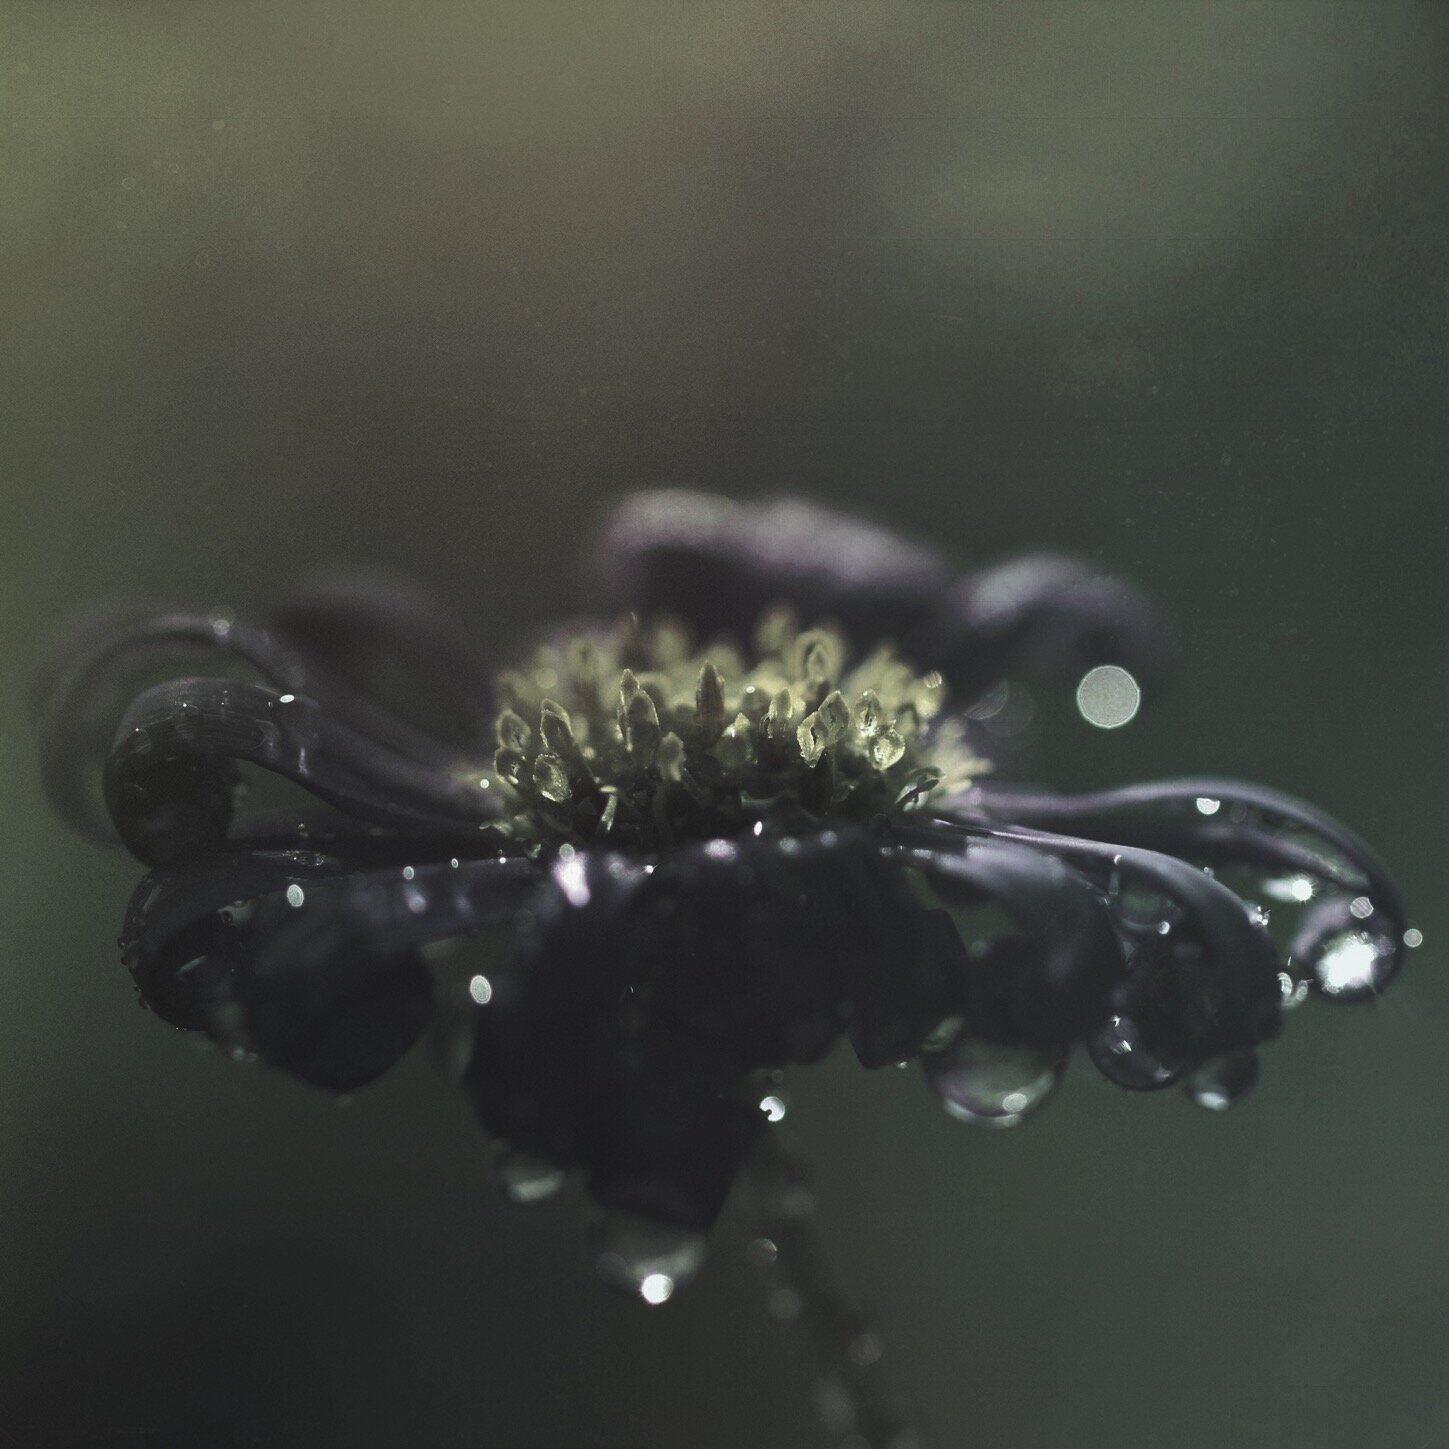
Mextures is the perfect tool to make a macro shot a little more interesting. I prefer to shoot my macros with a larger aperture, in this case f2.8. That usually means that only a small part of the picture is sharp while the background is very blurry.
I wanted to enhance that blur so I used different textures from the Landscape Enhance pack. I really like that little light spot on the right side of the flower, so to enlighten it just a bit I used one of my favorite textures, FRANKLIN, from the Emulsion textures and I dimmed it down to 12% (you can adjust the intensity of each texture). The final texture I added was PASSIVE from the Anomaly pack to give the picture a bit of a velvet touch.
Finally, using the Mextures adjustment tools, I reduced the saturation and the exposure before saving.
You can find much more of Barbara’s work here!


