MEXTURES SESSIONS: FRANCESCO DELL'ORTO
Francesco Dell’Orto (@eleathar) is one of the most gifted, inspiring, and capable artists around. His composite work is topnotch and beyond beautiful and has never failed to elicit massive outbreaks of frenzied jaw-dropping and fits of uncontrollable drooling. We recently asked Francesco to walk us through his approach to editing with Mextures when it comes to composites. You'll find two simple tutorials of two stunning composite creations from Francesco. Let us and Francesco know what you think!
FORMULA CODE: KDMUCCQ
I always put Mextures at the forefront of my editing process and with good reason: it harmonizes the blending between multiple shots in a way that no other app does. Blending different shots means piecing together various lights, textures, colors, temperatures, etc. The human eye is a powerful tool and can quickly recognize something as fake, even if you don’t technically know what is off.
My blending would feel fake without Mextures and this is the reason why you can’t find an edit of mine without Mextures on it.
In this shot I used an 8-layer formula with the CROSS PROCESS film preset:
- HAUNTING (hard light, orientation 1, 24%)
- HAUNTING (hard light, orientation 2, 13%)
- FORE (overlay, orientation 4, 27%)
- NEUTRAL DENSITY (overlay, orientation 1, 16%)
- REVERENCE (hard light, orientation 4, 37%)
- BLIZZARD (screen, orientation 4, 27%)
- DAYBREAK (overlay, orientation 1, 30%)
- FROZEN (overlay, orientation 1, 50%)
As I often do, I chose certain layers for determining light orientation and intensity (HAUNTING, FORE, REVERENCE, NEUTRAL DENSITY and DAYBREAK) and others to give a cooler texture and mood (FROZEN and BLIZZARD). The film preset choice is very important to give a particular mood to each edit. I always try several film presets and tweak all of the main settings (saturation, temperature, tint, contrast and sharpness) before I consider myself satisfied with the final edit.
What I love about Mextures is the incredible complexity of the settings (you can fine tune every single detail) united with an extreme ease of use, that allows you understand every single part of the process of intuitive, non-destructive layering.
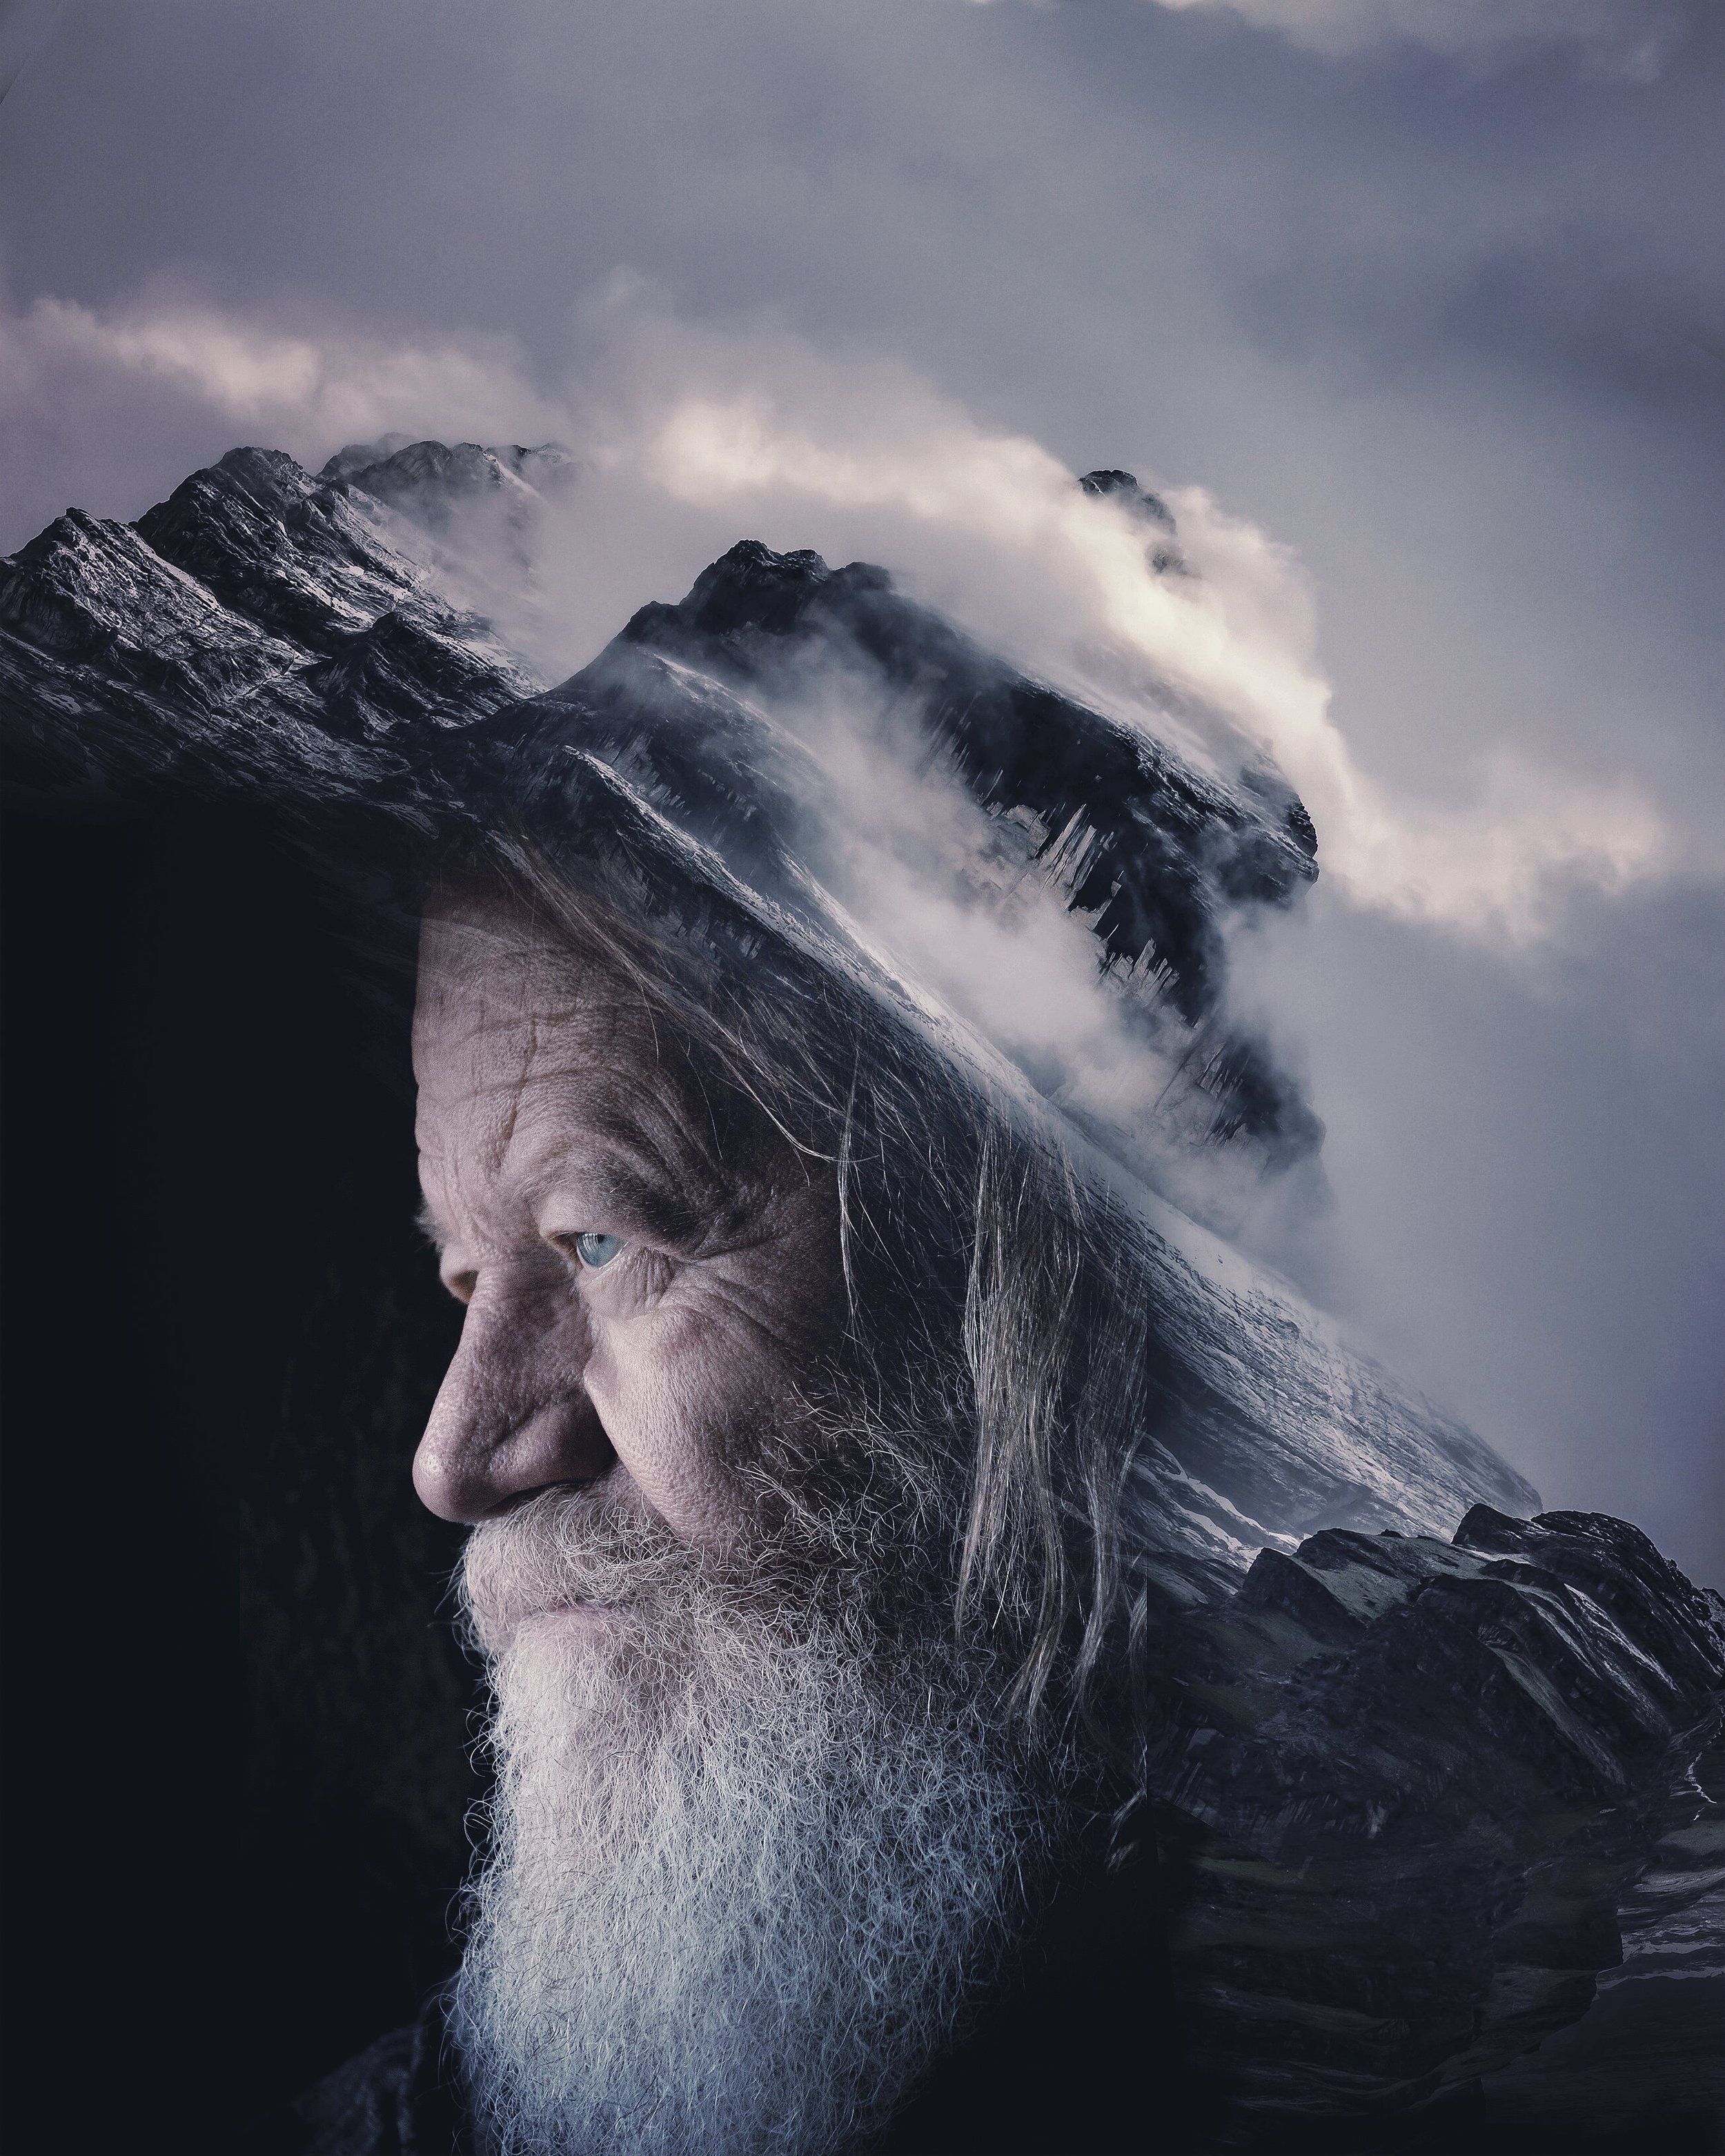
FORMULA CODE: GFCBAWE
Here is another example of how I utilize Mextures to make multiple shots work together after blending. In this edit I needed to blend the image of the old man with the mountain peak. You can see how the skin is saturated with a different feel than the surface of the mountain. I also needed to blend different parts of the same mountain to give that shoulder effect on the lower right.
Thanks to Mextures magic and through the use of a 6-layer formula, I created that bleached effect on the skin, enlightened the eyes (which are always a central piece of every portrait), and made the two parts of the mountain blend seamlessly.
Here are the six layers that I used and how I used them:
- EVENTIDE (overlay, orientation 3, 22%): This is one of my preferred overlays from the Radiance pack because it focuses the light on a single spot and darkens the rest with a colder tone.
- IDYLLIC (overlay, orientation 2, 31%): This added a slight blue tone over the entire image.
- NAVY (exclusion, orientation 1, 20%): Here, it lowers the contrast and opens the shadows.
- VINTAGE (overlay, orientation 1, 23%): This darkens the borders leaving the center brighter.
- SOIL (overlay, orientation 1, 67%): I used this here to make the man's face stand out.
- INDIGO (exclusion, orientation 1, 24%): This serves the same function as Navy but has a softer touch.
- VELVIA: This film preset completes the scene wonderfully by adding some contrast and making the wrinkles and rocks appear sharper and more defined.
We hope you've enjoyed Francesco's process tutorial for these two images. You can view more of his amazing work here!


